

Creating video storage system [part2]
The part 2 will be the configuration of the production machine, the pi
Configuring Raspberry PI 3 with Raspbian Buster (Debian 10)
For the setup the pi, I will use a headless configuration of raspbian.

and these instructions headless pi setup

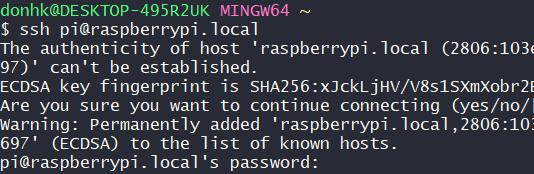
Once the flashing is complete we can login to the pi using this command from the terminal
ssh pi@raspberrypi.local
Make sure you update and upgrade the software otherwise the RSA algorithm might not be available on the client due to the server is using the latest version.
Also it is recommended to change the password or the pi user just in case 😉
sudo apt update -y
sudo apt upgrade -y
sudo passwd pi

Installing software on the pi
We will provision the pi by installing the following packages and enabling the tun option
sudo apt install -y htop iftop iotop openvpn vim
sudo modprobe tun
Once the packages are installed let’s run a trace route to see the current route of our internet connection.
traceroute www.google.com

Configuring the VPN software
To configure the VPN on the PI copy the certificates previously created under /etc/openvpn/client/ and run
chmod -R 500 /etc/openvpn/client/

Then create a file to store the client configuration
sudo vim /etc/openvpn/client.conf
and add the below content replacing the x.x.x.x by the actual IP of the OC
client
tls-client
remote-cert-tls server
ca /etc/openvpn/client/ca.crt
cert /etc/openvpn/client/vuser2.crt
key /etc/openvpn/client/vuser2.key
tls-crypt  /etc/openvpn/client/devvpn.tlsauth
proto tcp
remote x.x.x.x 1194 tcp
dev tun
topology subnet
cipher AES-256-CBC
log /var/log/openvpn.log
pull
and start the client
sudo systemctl start openvpn@client
sudo systemctl enable openvpn@client
Once it is running you can see the new NIC tun0 that show that the VPN is running

We can verify that it worked by running the trace route again

We can see that the internet connection of the VPN is fairly good to be free and almost unlimited (we can use up to 10TB of traffic monthly for free)
curl -s https://raw.githubusercontent.com/sivel/speedtest-cli/master/speedtest.py | python -

That is all for now the next part will be about the actual code implementation.

2 thoughts on “Creating video storage system [part2]”